These pages contain basic concepts and details to make optimal use of TU Delft’s DAIC.
This is the multi-page printable view of this section. Click here to print.
Documentation
- 1: About DAIC
- 2: Running Jobs
- 2.1: Job Submission
- 2.2: Interactive Jobs
- 3: Data
- 3.1: Storage
- 3.2: Data Transfer
- 4: Software
- 4.1: Modules
- 4.2: Containers
- 5: System
- 5.1: Specifications
1 - About DAIC
Overview of the Delft AI Cluster (DAIC) and its role in high-performance computing at TU Delft.
What is an HPC cluster?
A high-performance computing (HPC) cluster is a collection of interconnected compute resources (like CPUs, GPUs, memory, and storage) shared among a group of users. These resources work together to perform lengthy and computationally intensive tasks that would be too large or too slow on a single computer. HPC is especially useful for modern scientific computing applications, where datasets are typically large, models are complex, and computations require specialized hardware (such as GPUs or FPGAs).
What is DAIC?
The Delft AI Cluster (DAIC), formerly known as INSY-HPC (or simply “HPC”), is a TU Delft high-performance computing cluster consisting of Linux compute nodes (i.e., servers) with substantial processing power and memory for running large, long, or GPU-enabled jobs.
What started in 2015 as a CS-only cluster has grown to serve researchers across many TU Delft departments. Each expansion has continued to support the needs of computer science and AI research. Today, DAIC nodes are organized into partitions that correspond to the groups contributing those resources. (See Contributing departments and TU Delft clusters comparison.)

DAIC partitions and access/usage best practices
1.1 - Contributors and funding
Overview of departments and funding sources contributing to DAIC.
The Delft AI Cluster (DAIC)—formerly known as INSY-HPC or simply HPC—was initiated within the INSY department in 2015. In later phases, resources were merged with the ST department (collectively called CS@Delft) and expanded further with contributions from other departments across multiple faculties.
Joining DAIC?
If you are interested in joining DAIC as a contributor, please contact us via this TopDesk DAIC Contact Us form.Contributing departments
The cluster is available only to users from participating departments. Access is arranged through your department’s contact persons (see Access and accounts).
| I | Contributor | Faculty | Faculty abbreviation (English/Dutch) |
|---|---|---|---|
| 1 | Faculty of Architecture and the Built Environment | ABE/BK | |
| 2 | Architecture | ||
| 3 | Faculty of Aerospace Engineering | AE/LR | |
| 4 | Control and Operations | ||
| 5 | Imaging Physics | Faculty of Applied Sciences | AS/TNW |
| 6 | Faculty of Mechanical Engineering | ME | |
| 7 | Geoscience & Remote Sensing | Faculty of Civil Engineering and Geosciences | CEG/CiTG |
| 8 | Intelligent Systems | Faculty of Electrical Engineering, Mathematics & Computer Science | EEMCS/EWI |
| 9 | Software Technology | ||
| 10 | Signal Processing Systems, Microelectronics |
Note
To check the corresponding nodes or servers for each department, see the Cluster Specification page.Funding sources
In addition to funding from contributing departments, DAIC has received support from the following projects and funding sources:
NWO

Horizon 2020
![]()
Epistemic AI
![]()
MMLL

Booking.com
![]()
D-STANDARD
Model-Driven Decisions Lab (MoDDL)
Immersive Tech Lab
Immersive Technology Lab, part of Convergence AI
1.2 - Advisors and Impact
Meet the DAIC advisory board and learn how to cite, acknowledge, and measure the scientific impact of DAIC.
Advisory board
Thomas Abeel
Department of Intelligent Systems
Pattern Recognition and Bioinformatics group
Frans Oliehoek
Department of Intelligent Systems
Sequential Decision Making group
Asterios Katsifodimos
Software Technology Department
Data-intensive Systems group

Citation and Acknowledgement
To help demonstrate the impact of DAIC, we ask that you both cite and acknowledge DAIC in your scientific publications. Please use one of the following formats:
Delft AI Cluster (DAIC). (2024). The Delft AI Cluster (DAIC), RRID:SCR_025091. https://doi.org/10.4233/rrid:scr_025091
@misc{DAIC,
  author = {{Delft AI Cluster (DAIC)}},
  title = {The Delft AI Cluster (DAIC), RRID:SCR_025091},
  year = {2024},
  doi = {10.4233/rrid:scr_025091},
  url = {https://daic.tudelft.nl/}
}
TY - DATA
T1 - The Delft AI Cluster (DAIC), RRID:SCR_025091
UR - https://doi.org/10.4233/rrid:scr_025091
PB - TU Delft
PY - 2024Acknowledgement text
Research reported in this work was partially or completely facilitated by computational resources and support of the Delft AI Cluster (DAIC) at TU Delft (RRID: SCR_025091), but remains the sole responsibility of the authors, not the DAIC team.
Scientific impact in numbers
Since 2015, DAIC has facilitated more than 2,000 scientific outputs from participating departments:
| Article | Conference/Meeting contribution | Book/Book chapter/Book editing | Dissertation (TU Delft) | Abstract | Other | Editorial | Patent | Grand Total | |
|---|---|---|---|---|---|---|---|---|---|
| Grand Total | 1067 | 854 | 123 | 99 | 69 | 32 | 29 | 8 | 2281 |
These outputs span a wide range of research areas. Title analysis highlights frequent use of terms related to data analysis and machine learning:
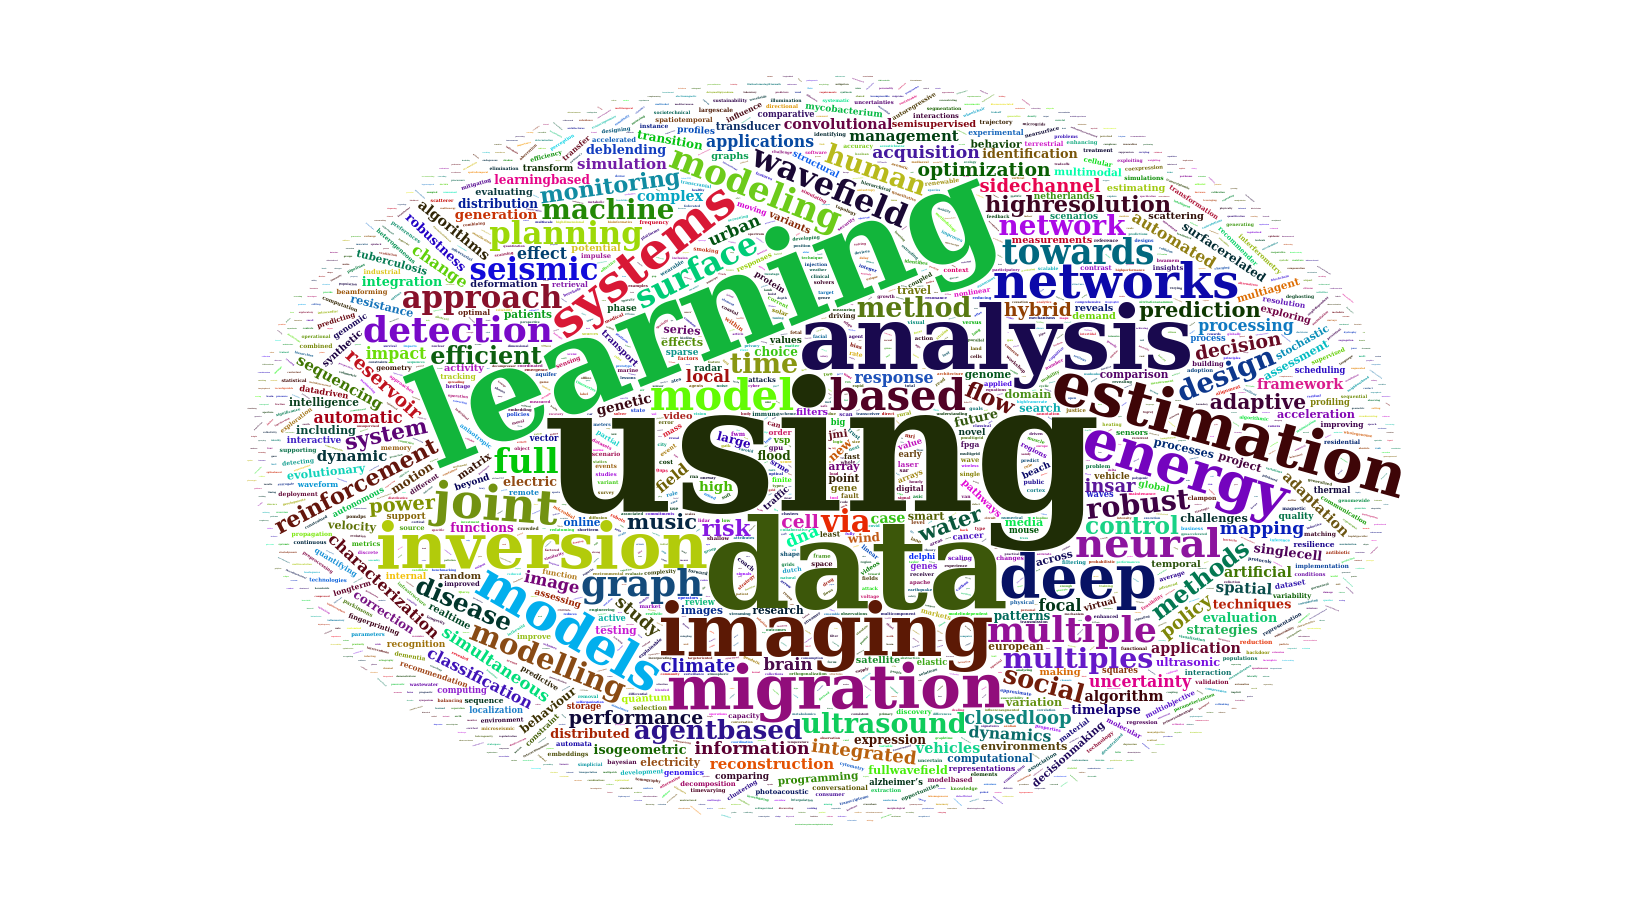
Word cloud of the most common words in scientific output titles using DAIC
Reference
The table and word cloud are based on retrospective retrieval of scientific outputs (2015–2023) from TU Delft’s Pure database.Data was generated by the Strategic Development – Data Insights team.
Publications using DAIC
Note
The following list is compiled retrospectively by the Data Insights team and/or based on self-reported contributions. As a result, it may be incomplete. If your publication is missing, please share it via the ScientificOutput Mattermost channel.2 - Running Jobs
Overview of ways to run jobs on DAIC.
This page is under construction.
2.1 - Job Submission
Submit batch jobs to DAIC with SLURM.
This page is under construction.
2.2 - Interactive Jobs
Run interactive jobs on DAIC compute nodes.
This page is under construction.
3 - Data
Guidance for storing and transferring data on DAIC.
3.1 - Storage
Store and organize data on DAIC.
This page is under construction.
3.2 - Data Transfer
Transfer data to and from DAIC.
This page is under construction.
4 - Software
How to set up your tools and/or run certain libraries.
4.1 - Modules
Use environment modules on DAIC.
This page is under construction.
4.2 - Containers
Use containers on DAIC.
This page is under construction.
5 - System
System architecture, hardware, and platform details for DAIC.
5.1 - Specifications
Hardware and system specifications for DAIC.
This page is under construction.